Basement Remodeling Project
Before and after pictures of my basement remodeling project
This page was designed to digitally display the progress of my basement remodeling project. I started taking pictures a little late and didn't get any pictures of when the carpet was still in place, so just imagine some greenish puke colored carpet on the floor.
Original Plan:
- Seal two walls by applying DryLok (done)
- Remove old carpet (done)
- Install new carpet
- Build partition wall for new office area
- Replace wood paneling on existing walls
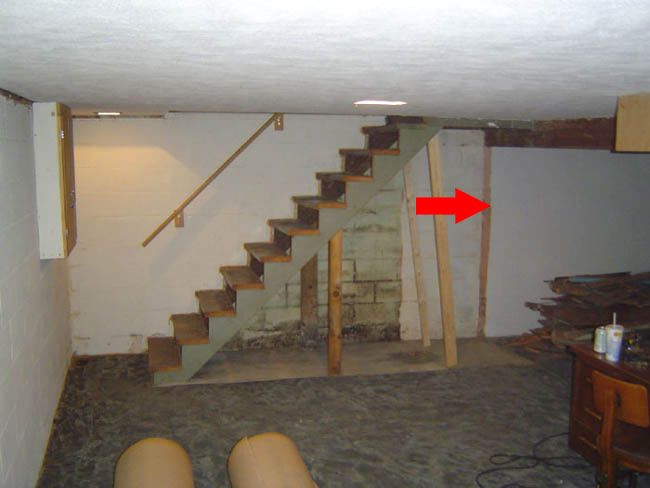
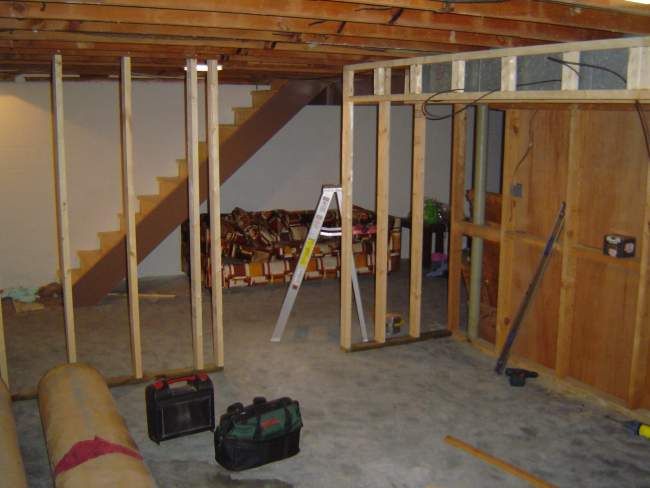
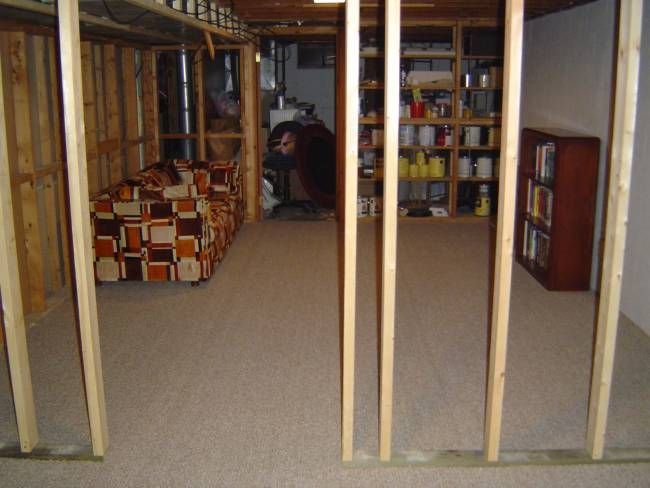
The very first thing I did in the basement was to seal two of the walls with DryLok. I did this before any of the destruction took place. Keep in mind that the destruction was not in the original plan. Image #2 shows where I stopped because of the old staircase. Once the staircase is removed, I will finish all the way around.
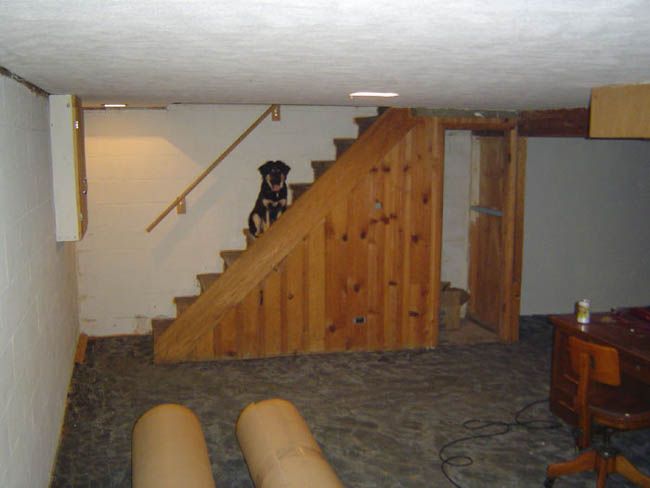
The first step in the destruction phase was to remove the old nasty carpet and scrape the padding material that was underneath. While I was removing the old carpet, I determined that I didn't want to install new carpet on an old set of stairs. I also wanted to get behind them to seal the section of the wall that was being covered. So, I decided to rip the stairs out! Image #1 shows what the stairs used to look like (and my new puppy). Image #2 shows how they look now. I'll be tearing the rest out soon. Once I do, I'll seal the remaining walls. I'll document the progress as it happens.
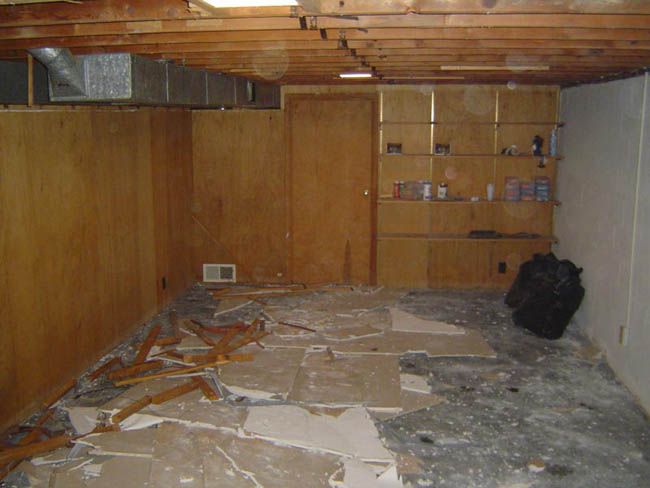
After the carpet was gone and the stairs were almost gone, I decided that I didn't want the drywall ceiling that was in the section of my future office. I wanted a tile ceiling. So, I ripped all the drywall off the ceiling and removed all the nails. Image #3 & #4 show the before and after shots of that. I'm thinking about using the CeilingMax system. I'll document the progress as it happens.
New Plan (Version 1):
- Seal two walls (done)
- Remove old carpet (done)
- Remove staircase (done)
- Remove drywall ceiling (done)
- Seal remaining two walls
- Build new staircase
- Install new carpet
- Build partition wall for new office area
- Replace wood paneling on existing walls
- Install tile ceiling
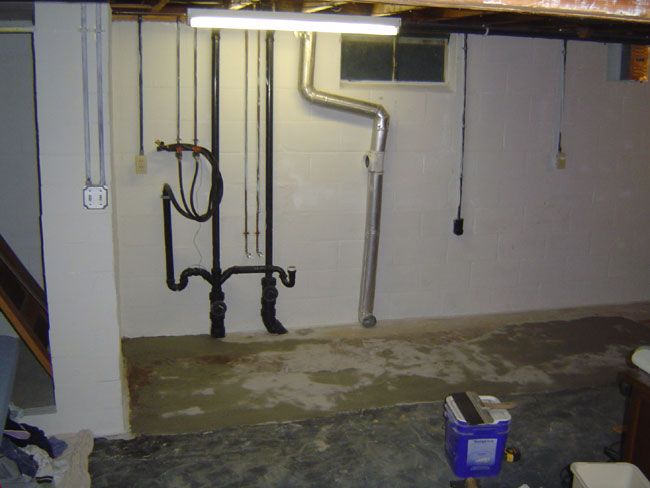
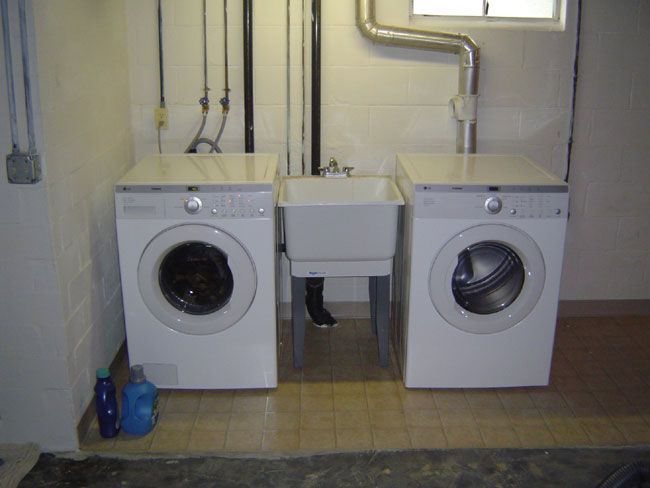
One thing that was never in any of the plans was our dryer dying on us. So, we bought a new LG washer & dryer set. Before they were delivered, I had the old vinyl removed and the floor patched. (Image #5) After that, the new vinyl was installed and the old sink placed back. (Image #6) The finished product is shown in Image #7.
July 4th 2006: The stairs are officially gone now. I also finished sealing the two remaining walls. (Image #8)
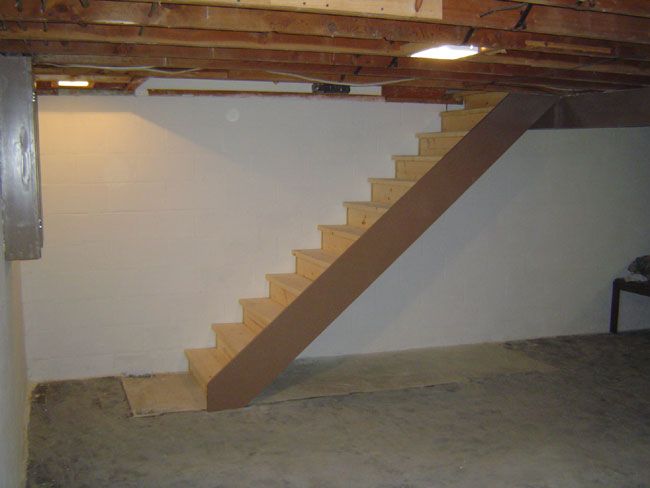
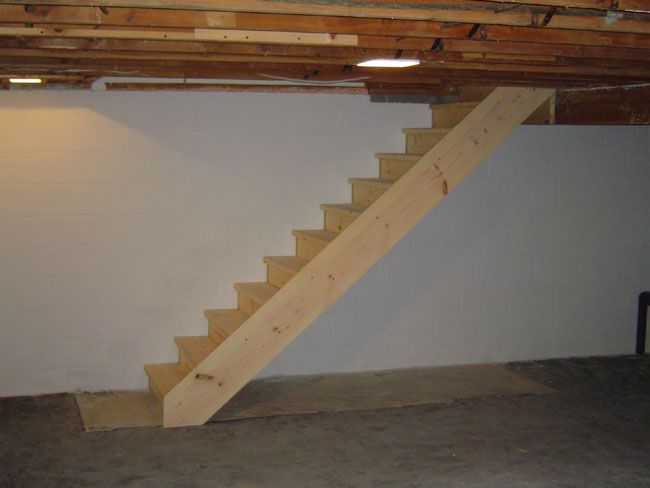
July 8th 2006: The new stairs are almost done. The next thing to do is install the risers and the side cover piece. (Image #9)
July 11th 2006: The new stairs are officially done. The side piece and the back will be painted with a tan color to match the carpet. The next thing to do is lay the carpet. (Image #10)
August 6th 2006: I did some painting this weekend. I got the side of the steps, the beam and the breaker box cover done. (Image #11) I also ripped off the old paneling that was on the walls. Termites had destroyed the bottom 2x4 that made up the wall. So, it looks like I'll tear all that out and build a new one along with the new partition wall. Anyone see that movie Money Pit?
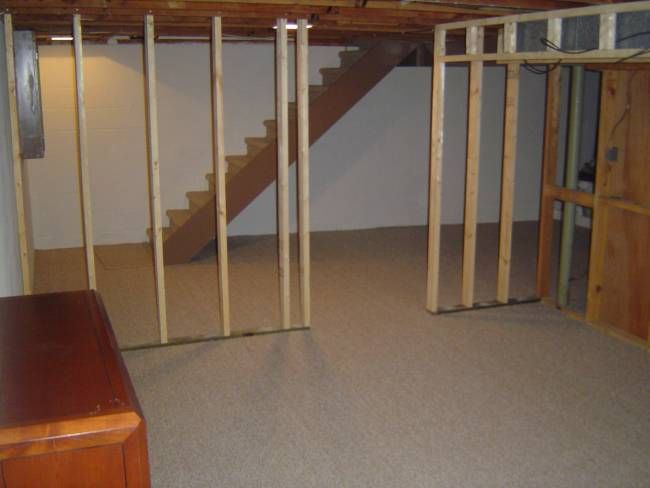
September 8th 2006: Today we got the office area framed in and the vents enclosed. The next step will be carpet. (Image #12)
September 17th 2006: This weekend we got all the new carpet done. I can't believe how good this project is starting to look. The next thing on the list will probably be the ceiling tile. (Image #13 & #14)
April 5th 2007: We've finally got back on the project. This week we started working on the wiring. I've removed most of the existing wiring and we'll run new wiring this weekend. After that, I'll need to think about running the network cable, phone lines and the cable. After all the wiring has been done, it will be time for the wood paneling.
This project has been canceled because we sold the house.